
Setting-up an Extranet Portal in SharePoint Online – Part 2
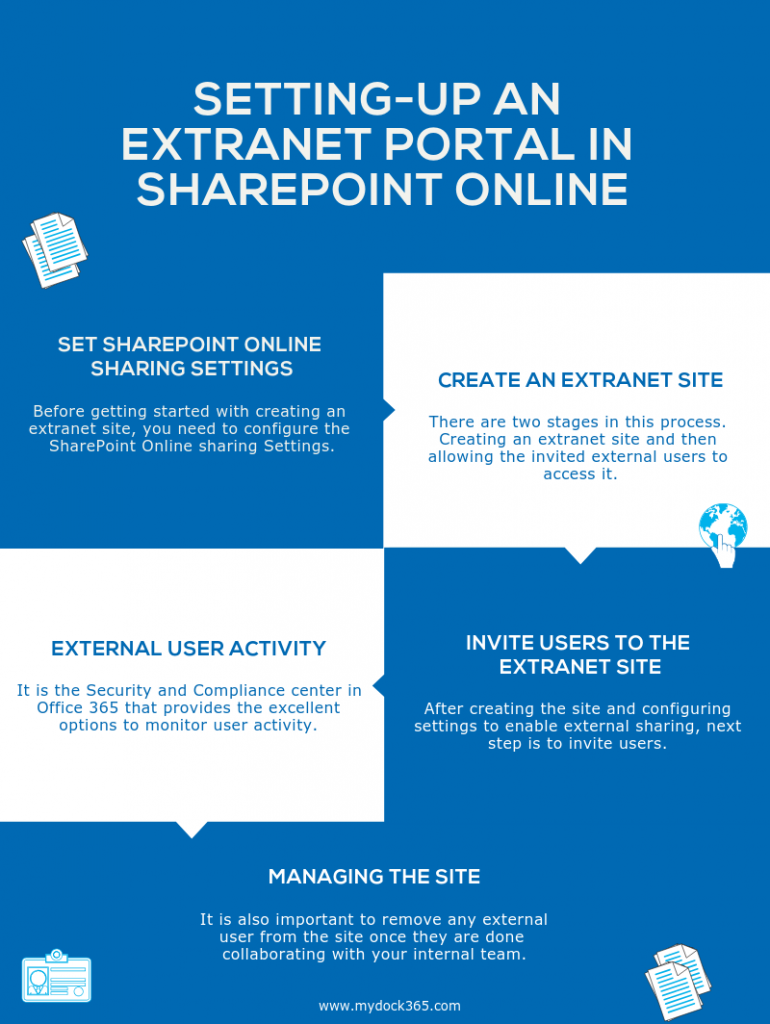
The first part of this blog series provided you awareness on how to configure SharePoint online Sharing Settings, and how to create an extranet portal site. Let’s just turn our focus to inviting the desired people and managing the extranet portal site appropriately, for creating good experiences. It is also possible to monitor the external user activity. This is important as it is essential to ensure that they are working according to your business practices and terms. The infographics below give you a good overview of the entire process.
Invite Users
After creating the site and configuring settings to enable external sharing, the next step is to invite users. For that, you need to first set a site owner. It is recommended to find a responsible person within your organization who will be perfect to manage the site. To assign the site owner, go to the site you have created. Choose share and enter the name of the user you wish to make the site owner. Click Show Options, and Pick [Full control] from Select a Permission Level section. Select Share to complete the process.
After this process, the site owner can invite external users who have a valid Work or School account, or a Microsoft account to login. The site owner can send the invitation to the user’s any of the valid accounts. To invite people, select Share from the site, and enter the email address of users you wish to invite to the site. Pick Show Options and ensure that [Edit] option in the Select a Permission Level section is selected. Click Share to apply the changes.
External User Activity and Managing the site
It is the Security and Compliance center in Office 365 that provides the excellent options to monitor user activity. To view the invitations and actions taken on the invitations, sign in to Office 365 Security & Compliance admin center. Pick Audit log search from the Search and Investigation section. From the Activities box, pick Accepted sharing invitation and click Search. To see the activities of your external users, go to Search & Investigation and click Audit log search. Go to Activities box and select show results for all activities and choose Search.
It is also important to remove any external user from the site once they are done collaborating with your internal team. To remove a user, Go to Settings on the site and select Site Settings. From Users and Permissions, pick People and Groups. Select the groups to which you added the user, from the People and Groups page. Select users and pick Remove Users from Group option from Actions. Select Ok to confirm the action.